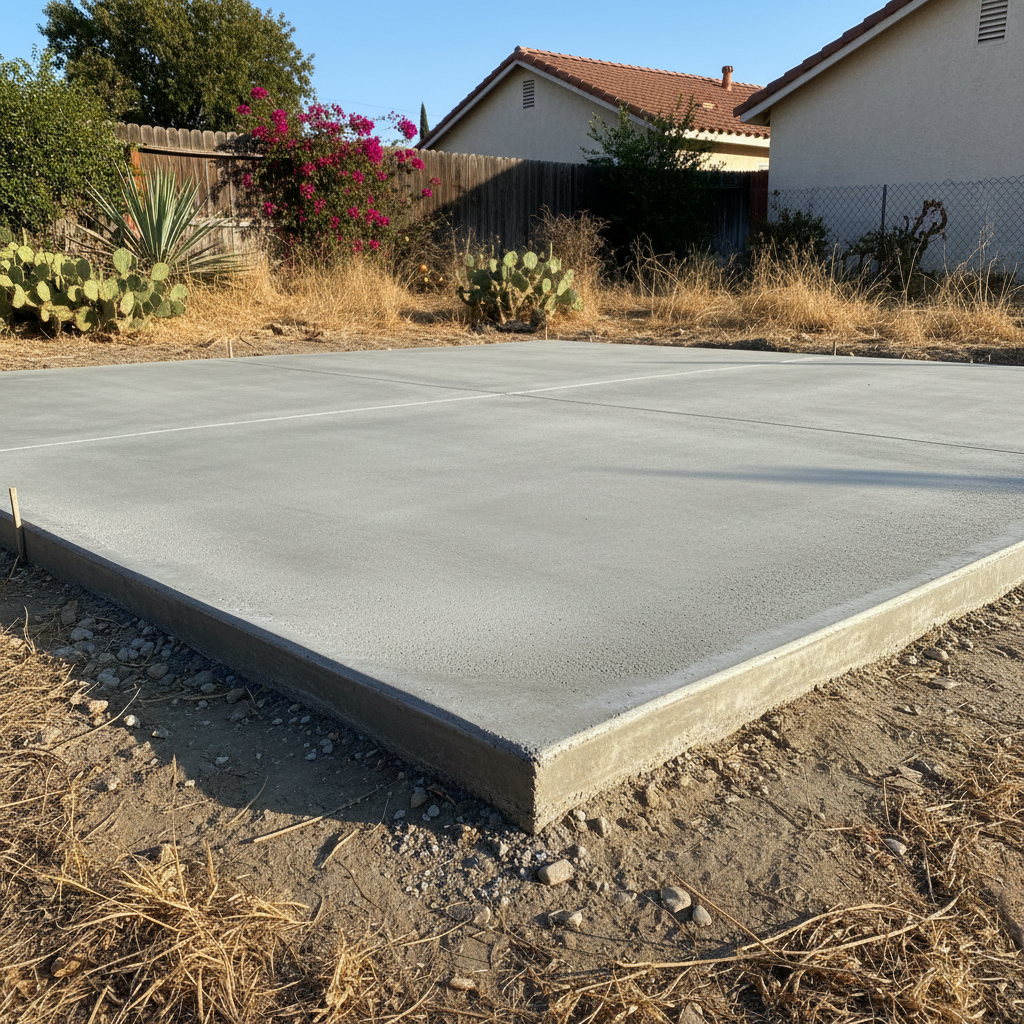
Alright, let's talk shed foundations. I see a lot of folks in Pomona get all excited about a new shed, pick out the perfect size, maybe even get it delivered, and then they just scratch their heads wondering what goes underneath it. Trust me, the foundation isn't something you want to skimp on. It's the thing that keeps your shed level, dry, and standing tall for years, especially with our local clay-heavy soil that loves to expand and contract with the seasons.
Before You Even Think About Digging
First things first, you need a plan. And part of that plan means really understanding your soil and what the local rules say.
- Know Your Dirt: We've got some interesting soil here in Pomona, haven't we? A lot of it is clay-heavy. That means it swells up when it's wet and shrinks when it dries out. This 'shrink-swell' behavior can really mess up a foundation that wasn't built right, leading to cracks, uneven settling, and doors that just won't close. If you're building on a hillside, like up in Phillips Ranch or the Ganesha Hills area, drainage becomes an even bigger deal.
- Check for Permits: This is a big one, folks. In California, generally, if your shed is under 120 square feet, one story, has no utilities (like electricity or plumbing), and stands under 12 feet tall, you might not need a building permit from the city. A 10x12 shed is usually the biggest you can go without needing one. But here's the catch: local rules can vary, and even if you don't need a building permit, zoning setbacks still apply. Always, always check with the City of Pomona's planning department. They'll tell you exactly what's required for your specific property, no guessing.
- Pick Your Foundation Type: You've got a few common options, and the best one really depends on your shed's size, what you'll use it for, and your budget.
- Gravel Pad: This is a popular choice for smaller to medium sheds. It costs less than concrete, drains really well, and can be a good DIY project for many. A well-built 6-inch gravel pad can support a shed for decades.
- Concrete Blocks/Piers: These lift your shed off the ground, which is great for air circulation and keeping moisture problems away. They work well for smaller sheds and can be a good DIY option, especially when you pair them with a wood frame or skid foundation.
- Wood Frame (Skid) Foundation: This uses pressure-treated lumber directly on the ground or over a gravel base. It's good for small to mid-size sheds and has the nice advantage of being relocatable.
- Concrete Slab: This is the strongest and most permanent choice, perfect for bigger sheds, workshops, or if you plan to put heavy equipment inside. It costs more and involves more work, but it gives you a super stable, level floor.
During the Build: DIY or Pro?
Once you've got your plan and picked your foundation type, it's time to get to work. Now you decide how much sweat equity you're putting in, right?
What You Can Realistically DIY
- Gravel Pads: For a small to medium shed, you can definitely tackle a gravel pad yourself. You'll need to dig out the area, lay down some landscape fabric, and then fill it with compacted crushed gravel. Just make sure it's level and extends a bit beyond your shed's footprint for good drainage.
- Concrete Blocks/Piers: Setting up concrete blocks is also very DIY-friendly. You'll need to level the ground, place the blocks at key support points, and make sure they're all perfectly level before you set your shed frame on top.
- Wood Frame Foundations: If you're handy with lumber, building a pressure-treated wood frame on top of a gravel base or blocks is a solid DIY project. Just make sure all the wood that touches the ground is pressure-treated to resist rot and pests.
For any of these DIY options, the key is really careful site preparation. You've got to clear the area, remove any organic material, and compact the subgrade well. Skipping these steps, especially with Pomona's clay soil, is just asking for trouble down the road.
When to Call a Pro
- Concrete Slabs: Pouring a concrete slab is a much bigger job. It needs proper base preparation, often including a gravel bed and vapor barrier, plus precise leveling. With our expansive clay soil and seismic requirements here in Southern California, a concrete slab needs steel reinforcement and deeper footings. If you're not experienced with concrete work, this is where you call in Custom Sheds of Pomona or another reputable contractor. It costs more, sure, but a professional job ensures it's done right and will last.
- Large or Complex Sheds: If your shed is big, multi-purpose, or needs to hold heavy loads, a professional foundation is usually the way to go. The structural integrity is just too important to risk.
- Tricky Sites: If your yard isn't flat, has poor drainage, or you're dealing with really challenging soil conditions, a pro will have the equipment and know-how to handle it properly.
After the Foundation is Down
Once your foundation is in place, don't just forget about it. Even the best foundation needs a little attention, you know?
- Ensure Good Drainage: Make sure water drains away from your shed, not towards it. This is super important in Pomona, especially during our winter rains. Grade the soil around the foundation so it slopes away from the shed. Gutters on your shed can also help direct water away.
- Monitor for Issues: Keep an eye out for any signs of settling, like doors sticking, windows not closing right, or cracks in the foundation if you went with concrete. Small issues caught early are much easier and cheaper to fix.
- Keep it Clean: Clear away debris, leaves, and anything else that might trap moisture around the base of your shed.
A good foundation is the unsung hero of any shed. Do it right, whether you DIY or hire us at Custom Sheds of Pomona, and your shed will serve you well for many years to come.